Why Parylene Coating Fails: Surface Prep, Masking, and Adhesion Mistakes to Catch Before Deposition
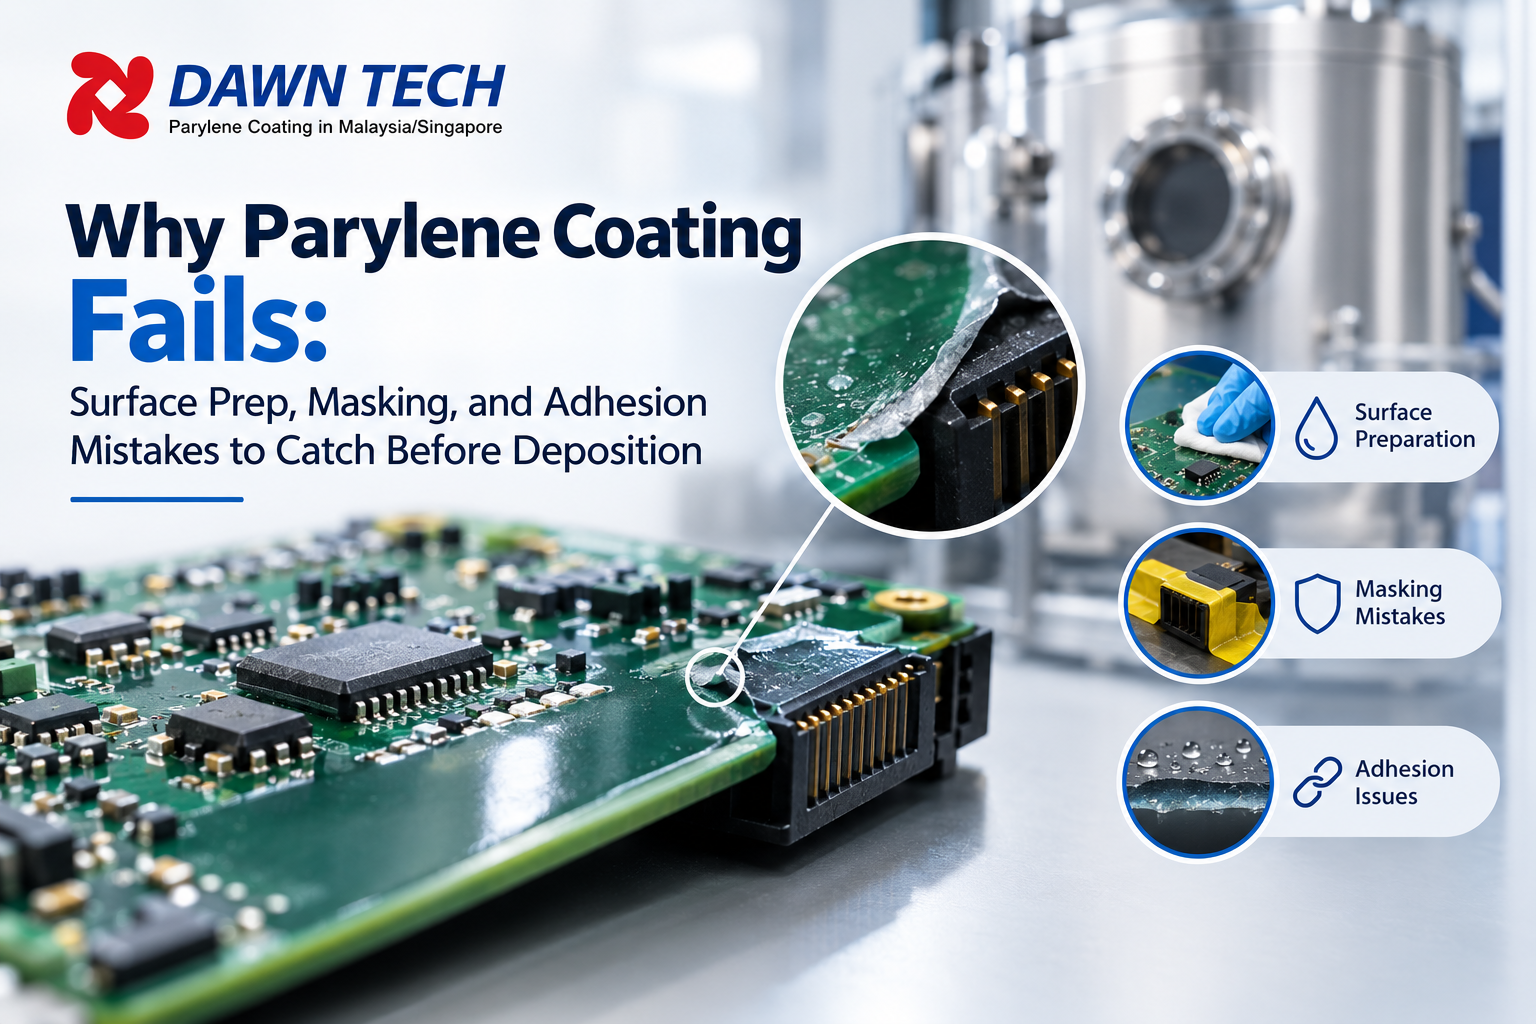
A board comes out of the chamber looking flawless. Two weeks later, the film is peeling at a connector edge, and moisture has crept underneath. The first instinct is to blame the material, yet parylene coating failures almost always trace back to what happened before deposition. Surface residue, weak adhesion preparation, and sloppy masking cause far more rejects than the equipment does. Parylene is a vapor-deposited polymer, so it reaches every crevice, including the ones you meant to protect and the ones you meant to keep clear. That reach is its strength and its risk. This article walks through the mistakes that matter most and the checks that catch them early, so your next run starts from a better place.
Why Failures Usually Start Before the Chamber Closes
Parylene has a long track record. Michael Szwarc described the underlying chemistry in the late 1940s, and Union Carbide turned it into a commercial vacuum deposition method in the 1960s. Since then it has protected circuit boards, sensors, medical components, and more.
The film itself is very consistent. What varies is the surface it lands on. Once the polymer forms, you cannot see a thin oil layer or a trace of flux beneath it. You only discover the problem when the film lets go.
How the Parylene Coating Process Exposes Weak Preparation
The method is simple to describe. A solid powder called dimer is heated until it vaporizes. The vapor passes through a very hot furnace, where it splits into reactive units. Those units then settle onto parts sitting in a chamber at roughly room temperature and link into a continuous film.
Because the film grows molecule by molecule from a gas, it has no wet flow to hide defects. A contaminated spot stays contaminated, and the polymer simply forms on top of it. A liquid coating can sometimes wet through minor residue. Vapor deposition cannot.
Surface Cleanliness Mistakes That Cause Lifting
Most adhesion failures come from a short list of contaminants. They are easy to overlook because they are often invisible.
- Fingerprints and skin oils from handling after cleaning
- Flux residue left under low-standoff components
- Mold release agents on plastic housings
- Ionic salts from earlier cleaning stages or humid storage
A common mistake is trusting a visual check. A part can look spotless and still carry a film of residue that blocks bonding. Ionic contamination testing and a simple water-break test on a sample coupon give far more reliable answers.
Another habit worth dropping is cleaning once and then storing parts in open air. Cleaned surfaces pick up moisture and airborne oils quickly. Coat soon after cleaning, and handle parts with clean gloves the entire time.
Adhesion Promoters and Bake-Out Steps
Some surfaces bond to parylene on their own. Many do not, especially smooth metals, glass and certain plastics. A thin silane layer is the standard fix. The one most often used with Parylene C is a methacrylate-functional silane known as A-174.
Problems appear when teams apply it carelessly. Too much silane leaves a weak, hazy layer that fails inside itself. Too little leaves bare patches. The mixture also loses strength as it ages, so an old bath is a hidden risk.
Moisture is the other quiet culprit. Parts that absorb water, such as some plastics and potted assemblies, release it under vacuum. That vapor can disrupt film growth or form blisters later. A proper bake-out before loading drives off trapped moisture and is cheap insurance.
Masking Errors That Ruin Connectors and Contacts
Masking is where good prep often gets undone. Since the vapor seeps into tiny gaps, a mask that merely touches a surface does not seal it. Film can creep beneath loose tape and coat a contact you needed bare.
Watch for these mistakes:
- Using tape with silicone adhesive that outgasses in vacuum and contaminates nearby areas
- Leaving gaps at mask edges, which lets the vapor wrap underneath
- Pulling masks off roughly, which can tear or lift the film along the boundary
- Choosing masks that cannot survive the vacuum cycle
The removal step deserves special care. The best habit is to score the film along the mask edge with a sharp blade before peeling. That creates a clean break line, so the pull does not tug at the coating you want to keep.
DawnTech and other experienced coating service providers often recommend reviewing the mask plan against the actual part drawing, not a quick sketch. A five-minute review can prevent a reworked batch.
Fixturing and Loading Details People Skip
How you arrange parts in the chamber affects results as much as how you clean them. Parts stacked too tightly block vapor from reaching shadowed areas, leaving thin spots. Parts resting flat on a tray can leave uncoated contact points.
Think about thickness, too. A film that is too thin may leave pinholes, while one that is too heavy can crack at sharp edges or stress delicate components. Matching the target thickness to the application is part of preparation, not an afterthought.
A practical example helps here. A team coating a sensor housing kept finding a bare ring at one edge. The cause turned out to be the support pins touching the exact spot that mattered. Repositioning the part solved it, and no change to the coating itself was needed.
A Short Pre-Deposition Checklist
Before sending any batch into the chamber, run through these steps:
- Confirm the cleaning method suits every material on the assembly.
- Test a sample coupon for cleanliness.
- Bake out parts that can hold moisture.
- Apply adhesion promoter in a controlled, measured way where it is needed.
- Inspect every mask edge under good light.
- Check fixture contact points and spacing.
A checklist like this takes minutes, yet it addresses the causes behind the majority of field failures.
Before You Load the Next Batch
If a coating fails, the instinct is to question the film. A better first question is what the surface looked like at the moment deposition began. Clean parts, correctly primed surfaces, and tight masks give the polymer a fair chance to do its job.
Treat preparation as part of the work rather than a chore that precedes it. Whether you run your own equipment or work with an outside partner, ask how contamination is checked, how masks are sealed, and how adhesion is verified. Those answers tell you more about expected performance than any datasheet. A dependable parylene coating process is built long before the vacuum pump starts, and the teams that remember this tend to see fewer surprises and far fewer returns.